The Human Brain in Chimera
Tom Goddard
July 12, 2013
Here are a few images of density map data from the Big Brain project
to image the human brain at high resolution
(currently 20 um). I'll explain a few steps needed to view the data.
Steps to View Big Brain Data in Chimera
- The Big Brain project makes you get an account to access their data. Unfortunately they have a human approve
every account so this can take days. There's a link on the
Big Brain page to request an account.
- Chimera can read the density map files in
MINC format
(file suffix .mnc) available at the Big Brain web site under the
3D Volumes tab.
This file format is based on the HDF5 file format. When you try to open it with Chimera menu entry
File / Open... it will ask what type of file it is.
Choose Chimera map format.
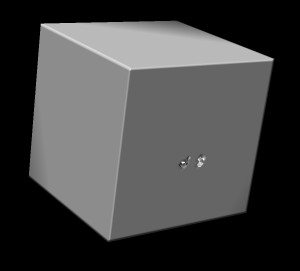
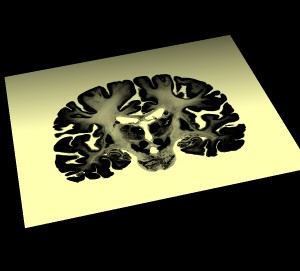
- Depending on the size of the map Chimera will either show a surface or for bigger files a single plane.
Here's what I see when I open 400 um and 100 um data sets.


-
Both these views indicate that the highest data values are outside the brain.
In other words, low density values have high values in the file. Chimera wants low density
values to have low values in the file in order to provide good views. So we need to invert
the map. I downloaded 8-bit data files with values ranging from 0 to 255. I can invert
the map (255 becomes 0 and 0 becomes 255) with the command
vop scale #0 shift -255 factor -1
This creates a new copy of map #0. Undisplaying the original map and adjusting the contour level
of the new map it looks like the following (surface display style, or solid display style).


- We see in the surface view two rectangular slabs sandwiching the brain. This is because the
original data sets have slabs of zero values at both ends along the z-axis. When we inverted the map
these became high density values. I don't know why they did this. But we can crop the volume to
eliminate the slabs with a command like (for 400 um data):
vop scale #0 subregion 0,0,67,492,472,526
This crops to the full x (0-492) and y (0-472) dimensions but only the middle z range (67-526).
I found the z bounds of the slabs by flipping through z planes using the Planes panel of the
volume viewer dialog (menu Features / Planes).

- Now we can save the inverted cropped data to a new file with a command
volume #2 save ~/Desktop/400um_brain.mrc
- The inverting, cropping and saving can all be done with menus and dialogs instead of commands.
For inverting you would use volume dialog menu entry Tools / Volume Filter, with filter type Scale.
For cropping you can use volume dialog menu entry Features / Subregion Selection and use the mouse
to outline the region to crop to. And saving is done with volume dialog menu File / Save Map As....
Example Images
Surface example
To make a nice surface image I used 400 um 8-bit (ICBM 152 space) data, used step 1 in the volume dialog
(ie. full resolution data display), made a pink opaque surface, and a second lower contour level (ctrl-click
on histogram to add a level) that is transparent gray. And I enabled shadows and silhouette edges and made
the background color white.

Slice example
To show interior detail of 100 um 8-bit (ICBM 152 space) data
I display 3-orthogonal grayscale planes using volume dialog menu
Features / Orthogonal Planes. And enabled moving the planes with the mouse. I adjust the
brightness tranfer function by moving the yellow curve on the histogram.
This data set is 6 Gbytes and moving the x and y planes can be very slow
because the data for one plane is spread throughout the 6 Gbyte file.
I used step 1 for full resolution and then I pressed the Preload
button on the volume dialog Planes panel to load all the data into memory.
That allowed interactively slicing through the data at 60 frames per second along all 3 axes.
I saved 3 images at different zoom levels to show the level of detail in the 100 um data.


